DIY Window Boxes: Adding Greenery to Your Views
11xplay id, laser247.com login, world777 sign up: DIY Window Boxes: Adding Greenery to Your Views
Looking out of a window can be a soothing experience, but what if you could enhance that view by adding some greenery right outside your window? DIY window boxes are a fantastic way to bring some nature into your living space and brighten up your views. In this article, we’ll explore the world of DIY window boxes and how you can easily create your own to add a touch of beauty to your home.
Choosing the Right Window Box
Before you start building your DIY window box, you’ll need to decide on the right type and size for your window. Window boxes come in various materials, such as wood, plastic, metal, and even ceramic. Each material has its pros and cons, so it’s essential to consider factors like durability, aesthetics, and weight before making your decision.
When it comes to size, make sure to measure the width and height of your window carefully. You want your window box to fit snugly under your window without obstructing the view or access to the window itself. A general rule of thumb is to choose a window box that is about the same width as your window for a balanced look.
Building Your DIY Window Box
Once you’ve chosen the right window box for your space, it’s time to get building! Here’s a simple step-by-step guide to creating your DIY window box:
1. Measure and cut your wood: Start by measuring the width and depth of your window box and cutting the wood accordingly. Remember to leave room for drainage holes at the bottom of the box.
2. Assemble the box: Using a hammer and nails or a drill and screws, assemble the pieces of wood to create the box shape. Make sure the corners are square and secure to prevent any wobbling.
3. Add drainage holes: Using a drill, create several drainage holes at the bottom of the box to prevent waterlogging and root rot.
4. Paint or stain the box: If you want to add a pop of color or match your window box to your home’s exterior, now is the time to paint or stain the box.
5. Install the box: Finally, attach brackets or hooks to the exterior of your home underneath the window, then place your DIY window box on top and secure it in place.
Choosing the Right Plants
Now that your DIY window box is in place, it’s time to choose the right plants to fill it with. When selecting plants for your window box, consider factors like sunlight exposure, watering needs, and aesthetic preferences. Some popular choices for window boxes include:
– Petunias: These colorful flowers thrive in full sun and will add a pop of color to your window box.
– Ivy: Ivy is a versatile plant that can trail over the sides of your window box for a cascading effect.
– Herbs: Consider planting herbs like basil, rosemary, and thyme for a window box that not only looks beautiful but also provides fresh ingredients for your cooking.
FAQs
Q: How often should I water my window box plants?
A: The frequency of watering your window box plants will depend on factors like the type of plants, the weather, and the material of your window box. As a general rule of thumb, check the soil moisture regularly, and water when the top inch of soil feels dry to the touch.
Q: Can I plant vegetables in my window box?
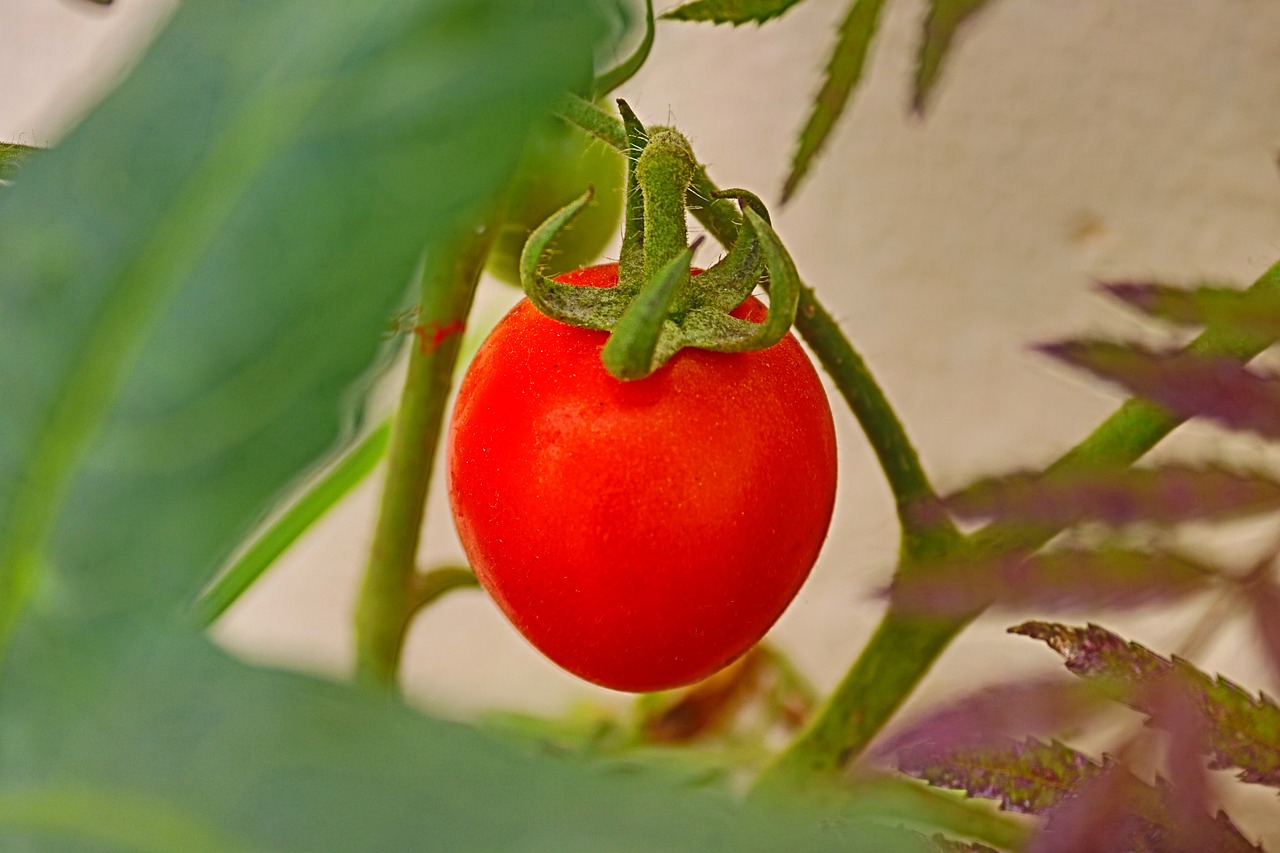
A: Yes, you can plant vegetables in your window box, as long as they have enough sunlight and space to grow. Consider vegetables like cherry tomatoes, lettuce, and peppers for a bountiful window box garden.
Q: How do I prevent pests from infesting my window box plants?
A: To prevent pests like aphids, mealybugs, and spider mites from infesting your window box plants, regularly inspect your plants for signs of damage or pests. You can also use natural remedies like neem oil or insecticidal soap to deter pests without harming your plants.
In conclusion, DIY window boxes are a fun and easy way to bring some greenery into your living space and enhance your views. Whether you’re a seasoned gardener or a novice plant parent, creating a DIY window box is a simple and rewarding project that will brighten up your home. So, roll up your sleeves, gather your materials, and get ready to enjoy the beauty of nature right outside your window. Happy gardening!